setwd("E:/Desktop/UFSC/cursos/pliman_tut/imgs")Import and manipulate
1 Directory
2 File manipulation
library(pliman)
library(tidyverse)
library(patchwork)
# set_wd_here("imgs")
list.files(pattern = "2022", path = "manipula")
## [1] "20220819_140351.jpg" "20220819_140836.jpg" "20220819_141224.jpg"
## [4] "20220819_141521.jpg"

# name vector
nomes <- c("T1_R1", "T1_R2", "T2_R1", "T2_R2")

# rename the files
manipulate_files(pattern = "2022",
                 name = nomes,
                 save_to = "manipula/renomeadas",
                 dir = "manipula")
3 Import images
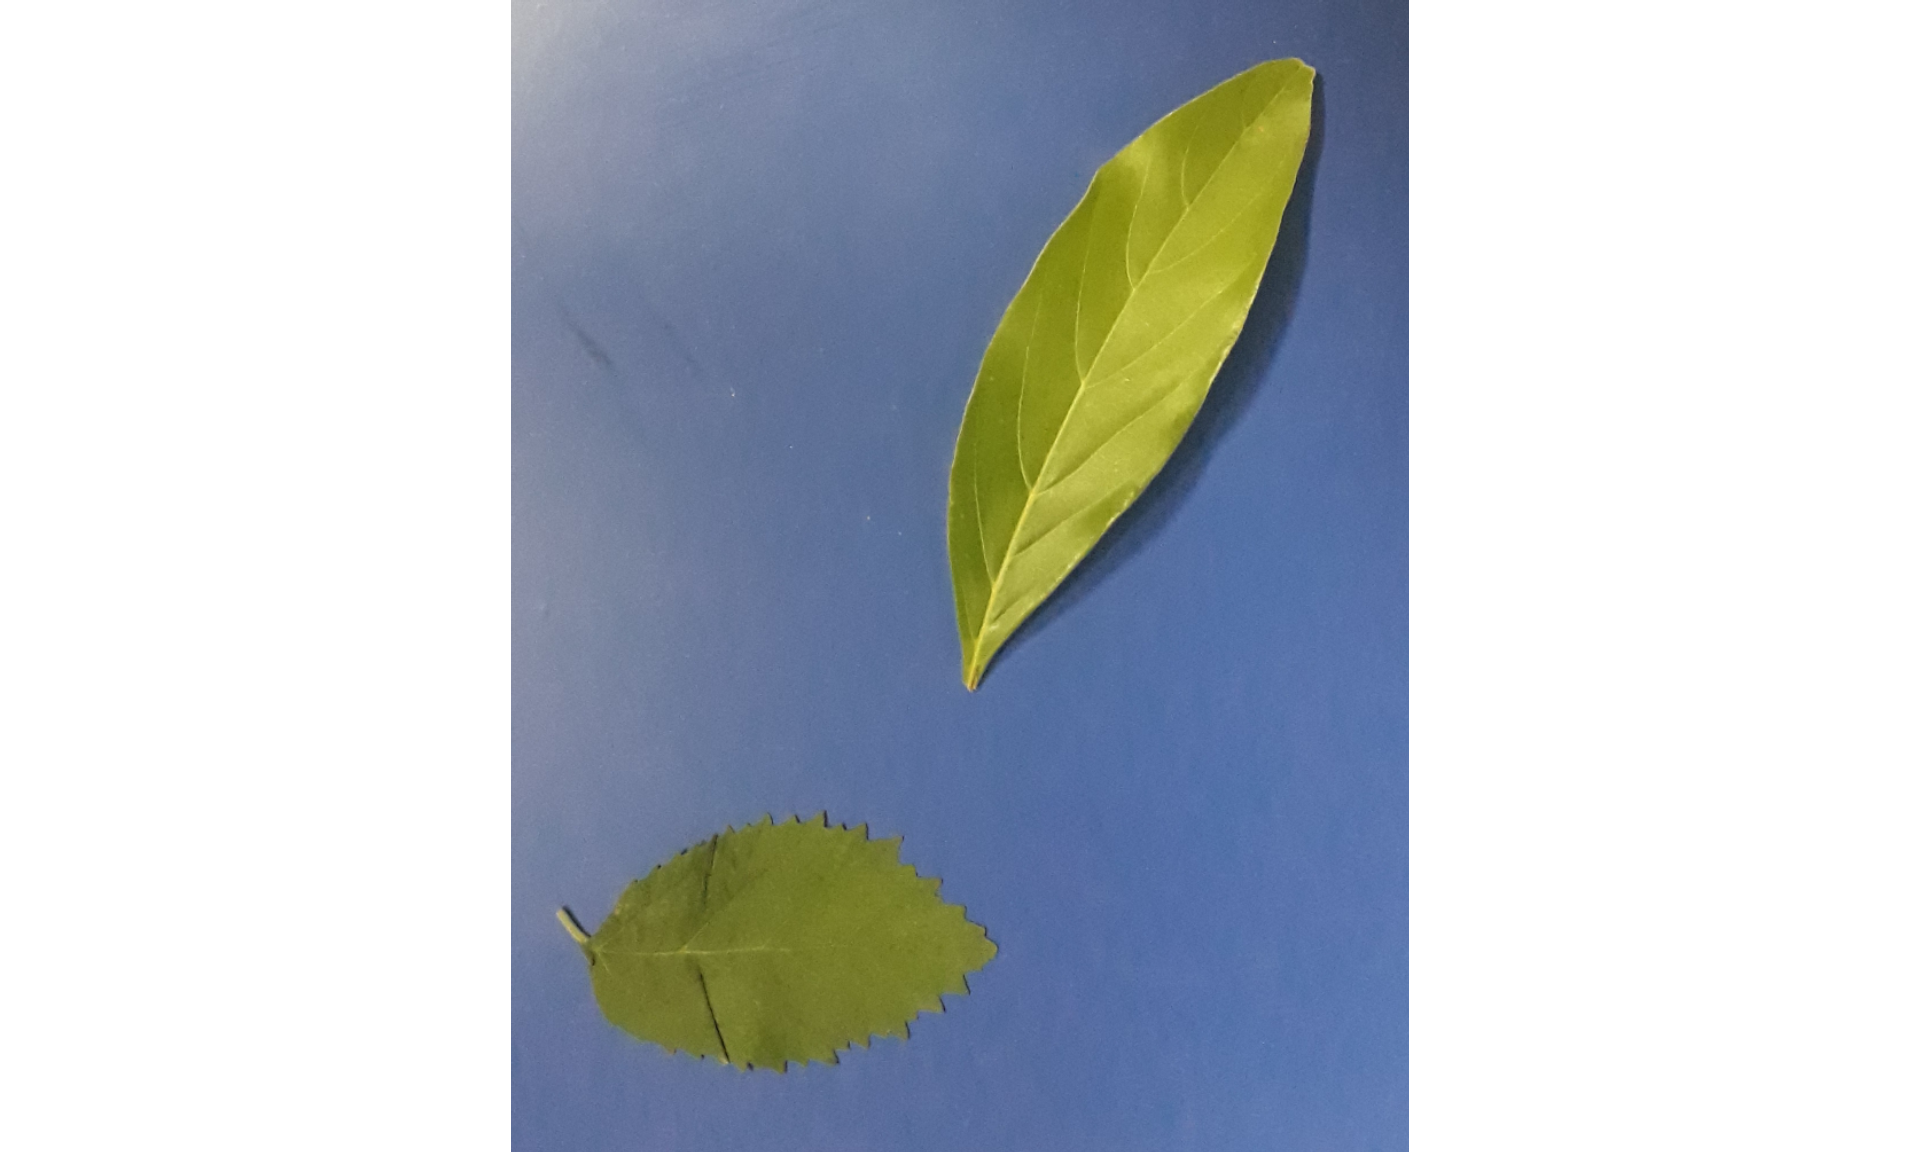
img <- image_import("folhas.jpg")To import a list of images, use a vector of image names, or the pattern argument. In the latter, all images that match the pattern name are imported into a list.
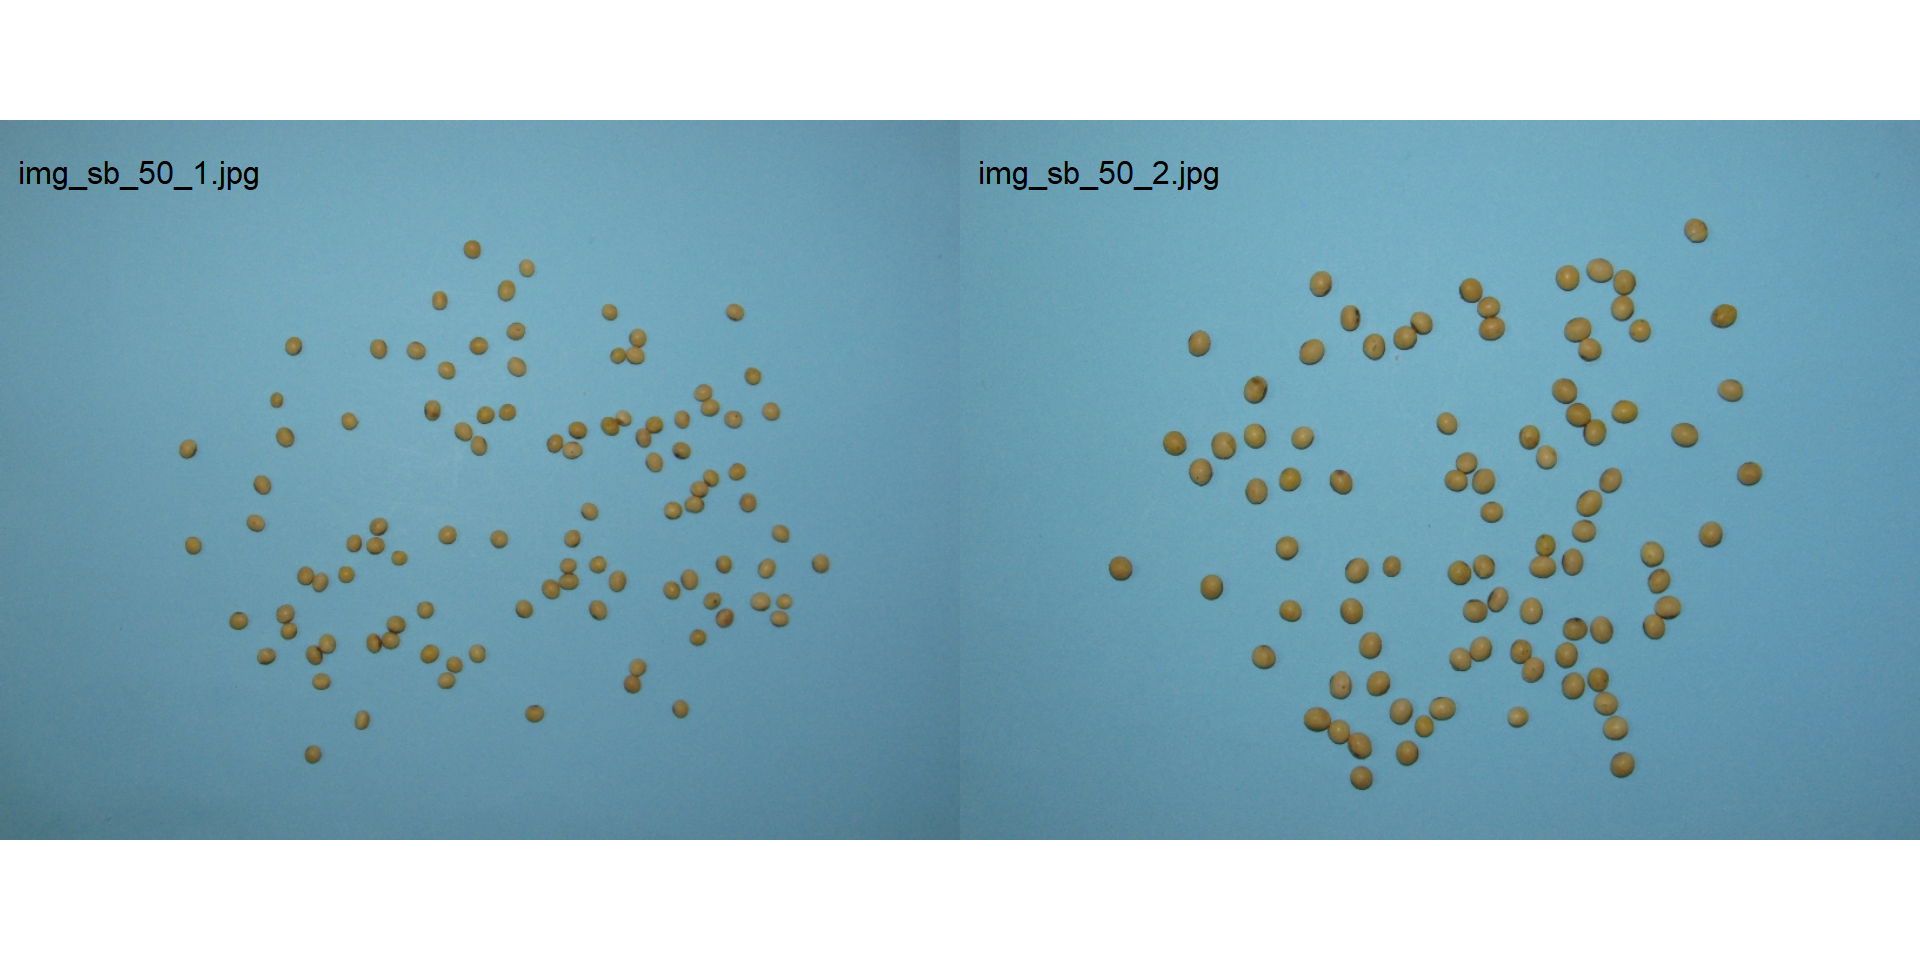
img_list1 <- image_import(c("img_sb_50_1.jpg", "img_sb_50_2.jpg"), path = "soja")
img_list2 <- image_import(pattern = "img_sb_", path = "soja")
str(img_list2)
List of 13
$ img_sb_50_1.jpg :Formal class 'Image' [package "EBImage"] with 2 slots
.. ..@ .Data : num [1:816, 1:612, 1:3] 0.365 0.361 0.361 0.349 0.365 ...
.. ..@ colormode: int 2
.. ..$ dim: int [1:3] 816 612 3
$ img_sb_50_10.jpg:Formal class 'Image' [package "EBImage"] with 2 slots
.. ..@ .Data : num [1:816, 1:612, 1:3] 0.42 0.408 0.416 0.416 0.416 ...
.. ..@ colormode: int 2
.. ..$ dim: int [1:3] 816 612 3
$ img_sb_50_11.jpg:Formal class 'Image' [package "EBImage"] with 2 slots
.. ..@ .Data : num [1:816, 1:612, 1:3] 0.388 0.38 0.384 0.38 0.369 ...
.. ..@ colormode: int 2
.. ..$ dim: int [1:3] 816 612 3
$ img_sb_50_12.jpg:Formal class 'Image' [package "EBImage"] with 2 slots
.. ..@ .Data : num [1:816, 1:612, 1:3] 0.38 0.376 0.392 0.384 0.392 ...
.. ..@ colormode: int 2
.. ..$ dim: int [1:3] 816 612 3
$ img_sb_50_13.jpg:Formal class 'Image' [package "EBImage"] with 2 slots
.. ..@ .Data : num [1:816, 1:612, 1:3] 0.392 0.392 0.412 0.384 0.4 ...
.. ..@ colormode: int 2
.. ..$ dim: int [1:3] 816 612 3
$ img_sb_50_2.jpg :Formal class 'Image' [package "EBImage"] with 2 slots
.. ..@ .Data : num [1:816, 1:612, 1:3] 0.376 0.384 0.392 0.388 0.396 ...
.. ..@ colormode: int 2
.. ..$ dim: int [1:3] 816 612 3
$ img_sb_50_3.jpg :Formal class 'Image' [package "EBImage"] with 2 slots
.. ..@ .Data : num [1:816, 1:612, 1:3] 0.369 0.376 0.361 0.361 0.365 ...
.. ..@ colormode: int 2
.. ..$ dim: int [1:3] 816 612 3
$ img_sb_50_4.jpg :Formal class 'Image' [package "EBImage"] with 2 slots
.. ..@ .Data : num [1:816, 1:612, 1:3] 0.4 0.408 0.404 0.396 0.392 ...
.. ..@ colormode: int 2
.. ..$ dim: int [1:3] 816 612 3
$ img_sb_50_5.jpg :Formal class 'Image' [package "EBImage"] with 2 slots
.. ..@ .Data : num [1:816, 1:612, 1:3] 0.396 0.404 0.396 0.396 0.388 ...
.. ..@ colormode: int 2
.. ..$ dim: int [1:3] 816 612 3
$ img_sb_50_6.jpg :Formal class 'Image' [package "EBImage"] with 2 slots
.. ..@ .Data : num [1:816, 1:612, 1:3] 0.4 0.38 0.396 0.384 0.388 ...
.. ..@ colormode: int 2
.. ..$ dim: int [1:3] 816 612 3
$ img_sb_50_7.jpg :Formal class 'Image' [package "EBImage"] with 2 slots
.. ..@ .Data : num [1:816, 1:612, 1:3] 0.349 0.361 0.365 0.365 0.373 ...
.. ..@ colormode: int 2
.. ..$ dim: int [1:3] 816 612 3
$ img_sb_50_8.jpg :Formal class 'Image' [package "EBImage"] with 2 slots
.. ..@ .Data : num [1:816, 1:612, 1:3] 0.361 0.373 0.376 0.388 0.384 ...
.. ..@ colormode: int 2
.. ..$ dim: int [1:3] 816 612 3
$ img_sb_50_9.jpg :Formal class 'Image' [package "EBImage"] with 2 slots
.. ..@ .Data : num [1:816, 1:612, 1:3] 0.373 0.365 0.373 0.384 0.392 ...
.. ..@ colormode: int 2
.. ..$ dim: int [1:3] 816 612 34 Displaying imagens
Individual images are displayed with plot(). To combine images, the image_combine() function is used. Users can enter a comma-separated list of objects or a list of objects of the Image class.
# Imagens individuais
plot(img)
# Combine imagens
image_combine(img_list1)
pliman provides a set of image_*() functions to perform image manipulation and transformation of unique images or an image list based on EBImage package.
5 Resize an image
Sometimes resizing high-resolution images is necessary to reduce computational effort and processing time. The image_resize() function is used to resize an image. The rel_size argument can be used to resize the image by relative size. For example, setting rel_size = 50 for an image of width 1280 x 720, the new image will have a size of 640 x 360.
image_dimension(img)
----------------------
Image dimension
----------------------
Width :  783
Height:  1005
img_resized <- image_resize(img, rel_size = 50)
image_dimension(img_resized)
----------------------
Image dimension
----------------------
Width :  392
Height:  502
6 Image resolution (DPI)
The dpi() function executes an interactive function to calculate the image resolution given a known distance entered by the user. To calculate the image resolution (dpi), the user must use the left mouse button to create a line of known distance. This can be done, for example, using a model with known distance, as follows.
#  this only works in an interactive section
rule <- image_import("rule.jpg", plot = TRUE)
x11()
(imgres <- dpi(rule))

rule2 <-
  image_crop(rule,
             width = 130:1390,
             height = 582:1487,
             plot = TRUE)

analyze_objects(rule2,
                watershed = FALSE,
                marker = "area",
                contour_col = "blue",
                contour_size = 8) |>
  get_measures(dpi = 518) |>
  plot_measures(measure = "area", vjust = -100, size = 2)
7 Align an image
To construct shapefiles with image_shp() the image objects need to be aligned along the x/y axis. image_align() can be used to provide such alignment. Users will need to draw a line along the y axis that corresponds to the alignment of the objects (e.g., field plots). By default, the aligment will be to the vertical, which means that if the drawed line have an angle < 90º parallel to the x axis, the rotation angle wil be negative (anticlocwise rotation). If the drawed line have an angle > 90º along the x axis, the rotation angle wil be positive (clocwise rotation). If the aligment is horizontal, the image will be rotated to align the drawed line paralell to the x axis assuming the shortest angle (left or right rotation if the angle is < 90º or > 90º, respectively)
shp <- image_import("shapefiles.jpg")
shp_aligned <- image_align(shp)
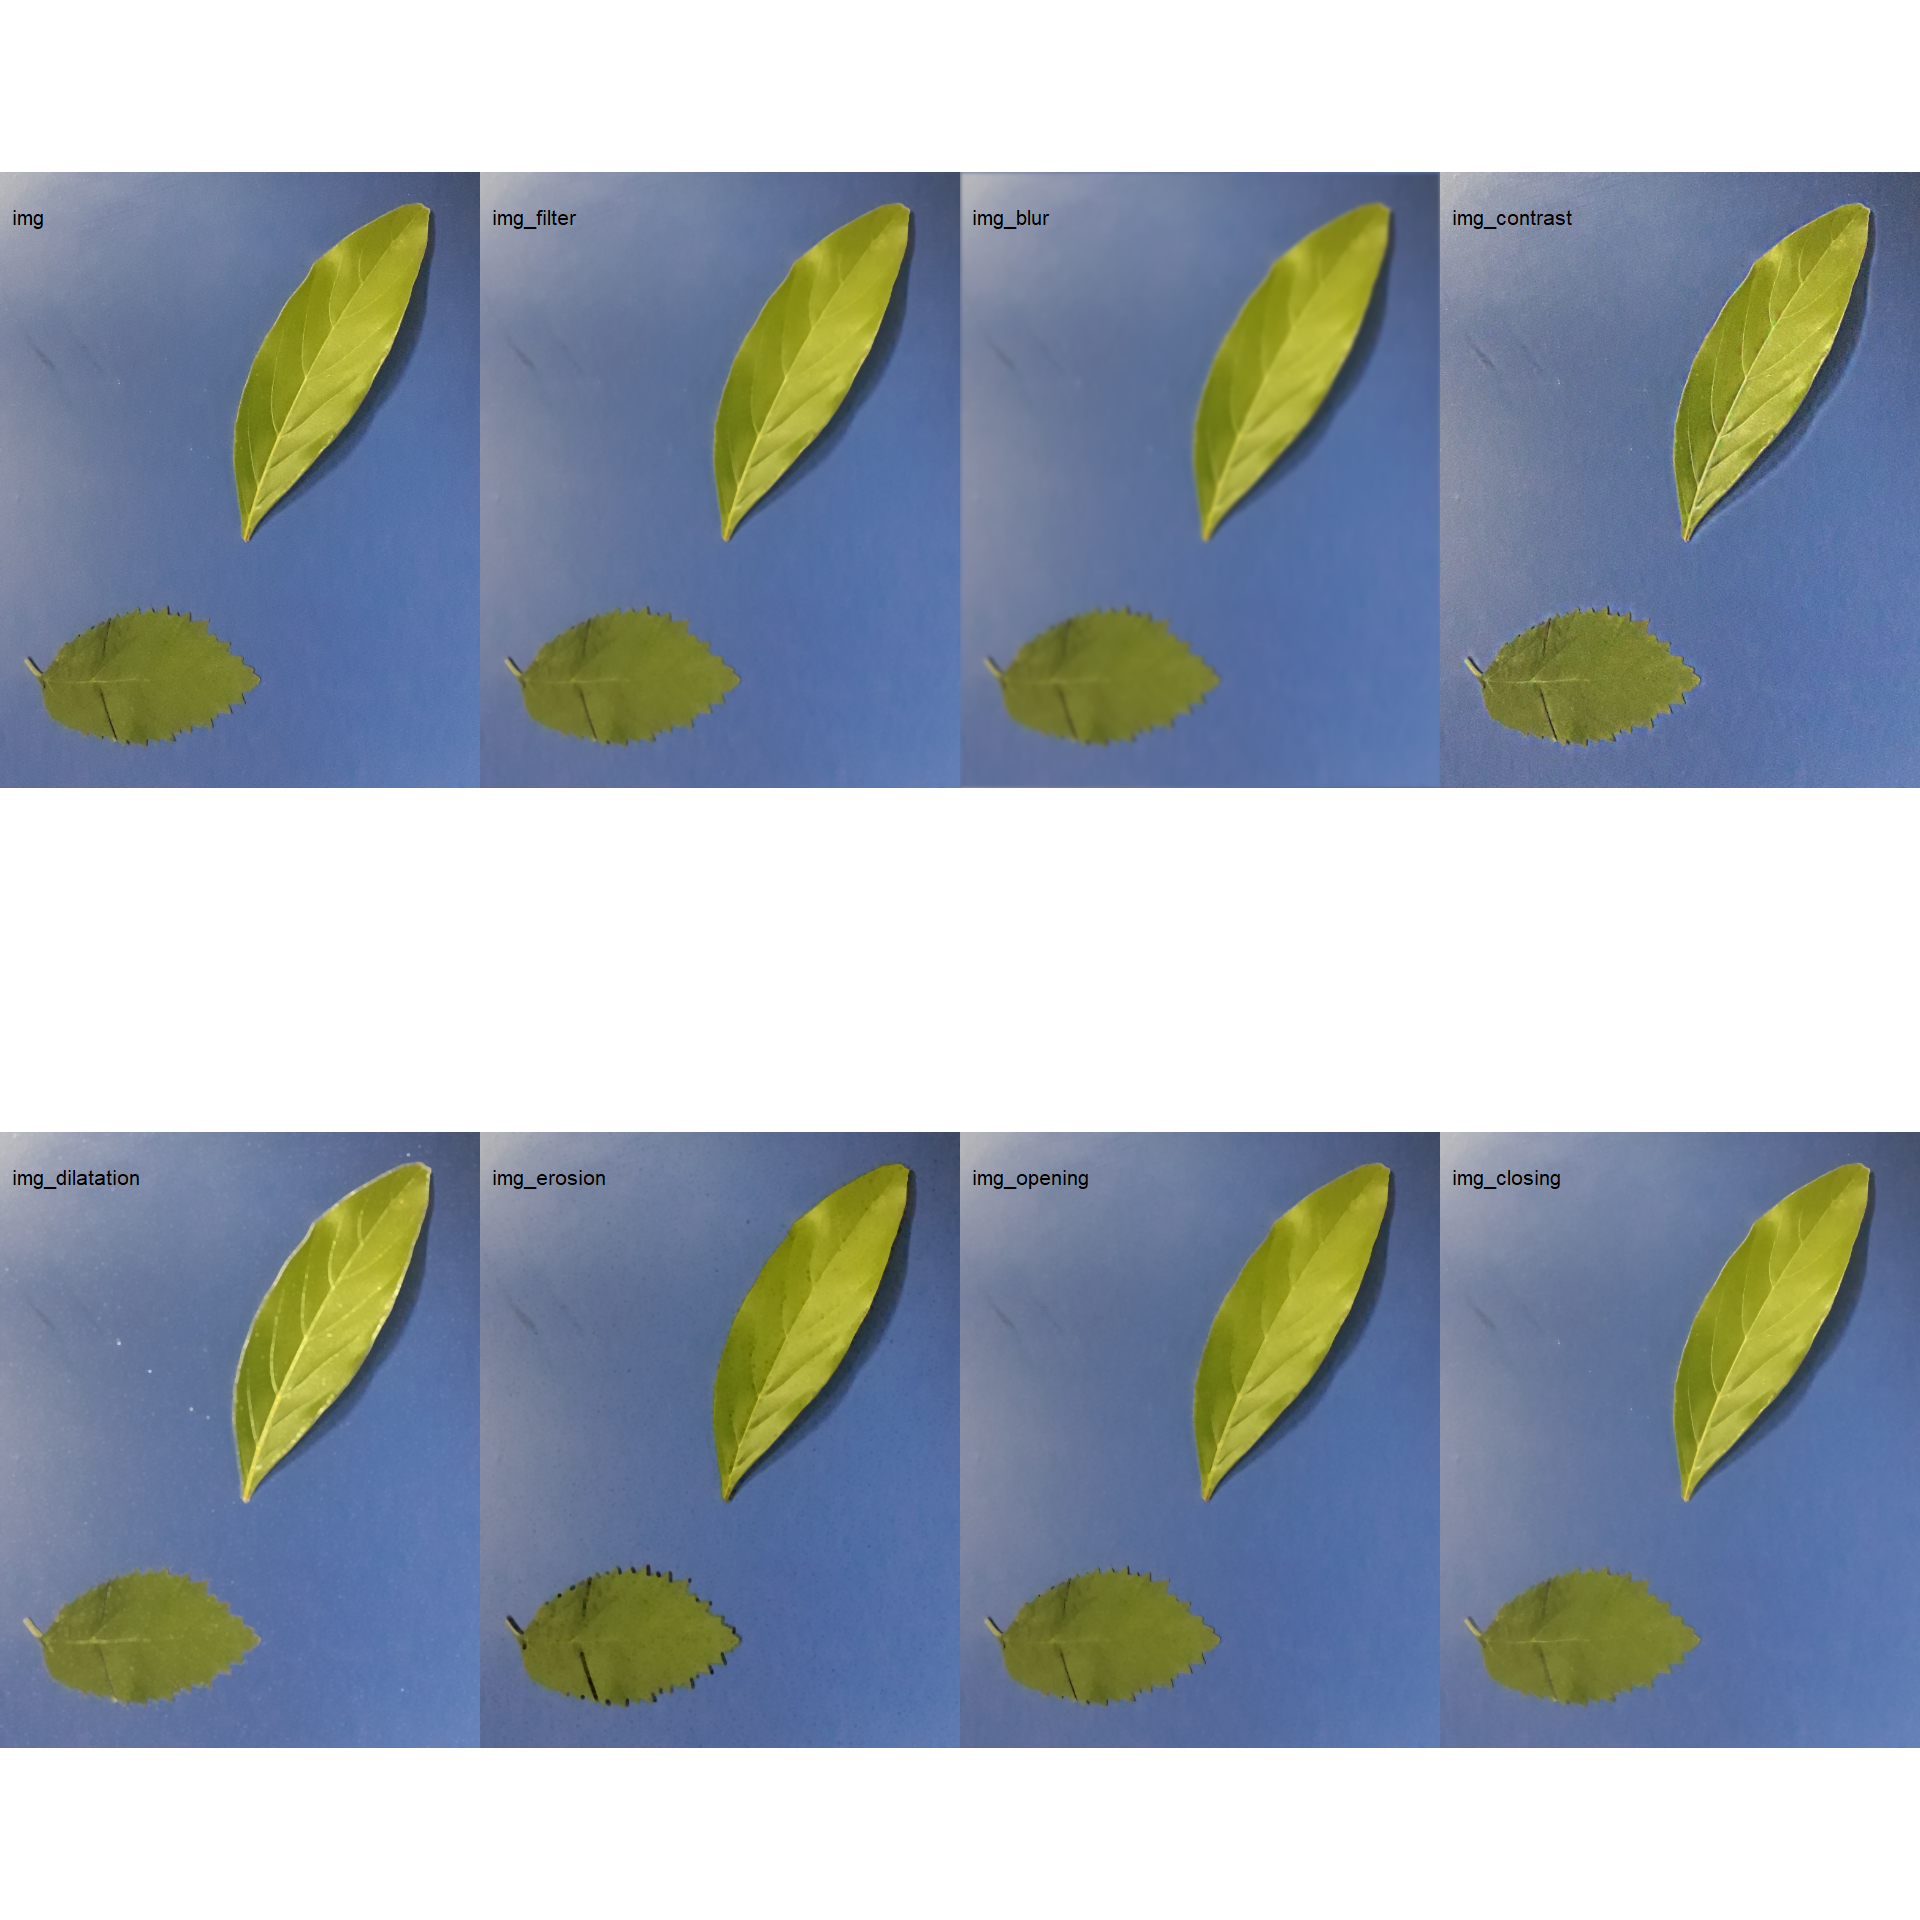
8 Filter, blur, contrast, dilatation, erosion, opening, and closing
img_filter <- image_filter(img)
img_blur <- image_blur(img)
img_contrast <- image_contrast(img)
img_dilatation <- image_dilate(img)
img_erosion <- image_erode(img)
img_opening <- image_opening(img)
img_closing <- image_closing(img)
image_combine(img,
              img_filter,
              img_blur,
              img_contrast,
              img_dilatation,
              img_erosion,
              img_opening,
              img_closing,
              ncol = 4)
9 Apply a function to images
apply_fun_to_imgs(pattern = "img_",
                  fun = image_autocrop,
                  dir_processed = "lista_exportada")
Processing image img_exported.jpg |==============================| 100% 00:00:00 10 Export
To export images to the current directory, use the image_export() function. If an image list is exported, the images will be saved considering the name and extension present in the list. If no extension is present, images will be saved as *.jpg files.
image_export(img, "imgs/img_exported.jpg")
# or a subfolder
image_export(img, "imgs/test/img_exported.jpg")

image_export(img_list1, subfolder = "lista")